Remote IoT projects using a Raspberry Pi have become increasingly popular as they allow users to control devices, monitor environments, and automate processes from anywhere in the world. If you're looking to unlock the full potential of remote IoT capabilities without spending a dime, this guide is your ultimate resource. With step-by-step instructions and expert tips, we will walk you through setting up a reliable system that works seamlessly behind your router.
As the demand for smart solutions grows, the Internet of Things (IoT) has revolutionized the way we interact with technology. From home automation to industrial applications, IoT systems powered by Raspberry Pi offer flexibility, scalability, and affordability. However, one common challenge is configuring these devices to work remotely while ensuring security and stability.
This guide aims to demystify the complexities of setting up a remote IoT system with Raspberry Pi. By the end of this article, you will have the knowledge and tools to create a robust setup that can be accessed from anywhere for free. Whether you're a beginner or an advanced user, this comprehensive guide has something for everyone.
Read also:Unlocking The Potential Of Hubin Your Ultimate Guide To Collaboration And Networking
Table of Contents
- Introduction to Remote IoT
- Raspberry Pi Basics
- Why Use Raspberry Pi for Remote IoT?
- Setting Up Raspberry Pi Behind a Router
- Securing Your Remote IoT System
- Free Tools for Remote Access
- Troubleshooting Common Issues
- Advanced Techniques for Remote IoT
- Real-World Applications
- Conclusion and Next Steps
Introduction to Remote IoT
Remote IoT refers to the ability to control, monitor, and interact with IoT devices from a distant location. This technology enables users to perform tasks such as adjusting smart home settings, monitoring environmental conditions, or managing industrial equipment without being physically present. The key to successful remote IoT implementation lies in creating a secure and stable connection between the IoT device and the user's device.
Benefits of Remote IoT
- Increased convenience and accessibility
- Cost savings through automation
- Improved efficiency in managing resources
- Enhanced security and monitoring capabilities
With the right tools and setup, remote IoT can transform the way we interact with technology, making it an essential skill for anyone interested in modern tech solutions.
Raspberry Pi Basics
The Raspberry Pi is a powerful, credit-card-sized computer that has become a staple in the world of IoT. It is versatile, affordable, and easy to use, making it an ideal platform for remote IoT projects. Before diving into the setup process, it's essential to understand the basics of Raspberry Pi and its capabilities.
Key Features of Raspberry Pi
- Compact size and low power consumption
- Support for multiple programming languages
- Built-in GPIO pins for connecting sensors and actuators
- Compatibility with various operating systems
Whether you're using Raspberry Pi for a simple home automation project or a complex industrial application, its flexibility and performance make it a top choice for developers and hobbyists alike.
Why Use Raspberry Pi for Remote IoT?
Among the many options available for IoT projects, Raspberry Pi stands out due to its affordability, ease of use, and extensive community support. Here are some reasons why Raspberry Pi is the perfect platform for remote IoT:
- Cost-Effective: Raspberry Pi is significantly cheaper than many other IoT platforms, making it accessible to a wide range of users.
- Community Support: With a large and active community, you can find tutorials, forums, and support for virtually any issue you encounter.
- Scalability: Raspberry Pi can handle both simple and complex projects, making it suitable for beginners and advanced users alike.
These advantages, combined with its robust hardware and software capabilities, make Raspberry Pi an excellent choice for unlocking the best remote IoT solutions.
Read also:Kathleen Hobson A Comprehensive Guide To Her Life Achievements And Legacy
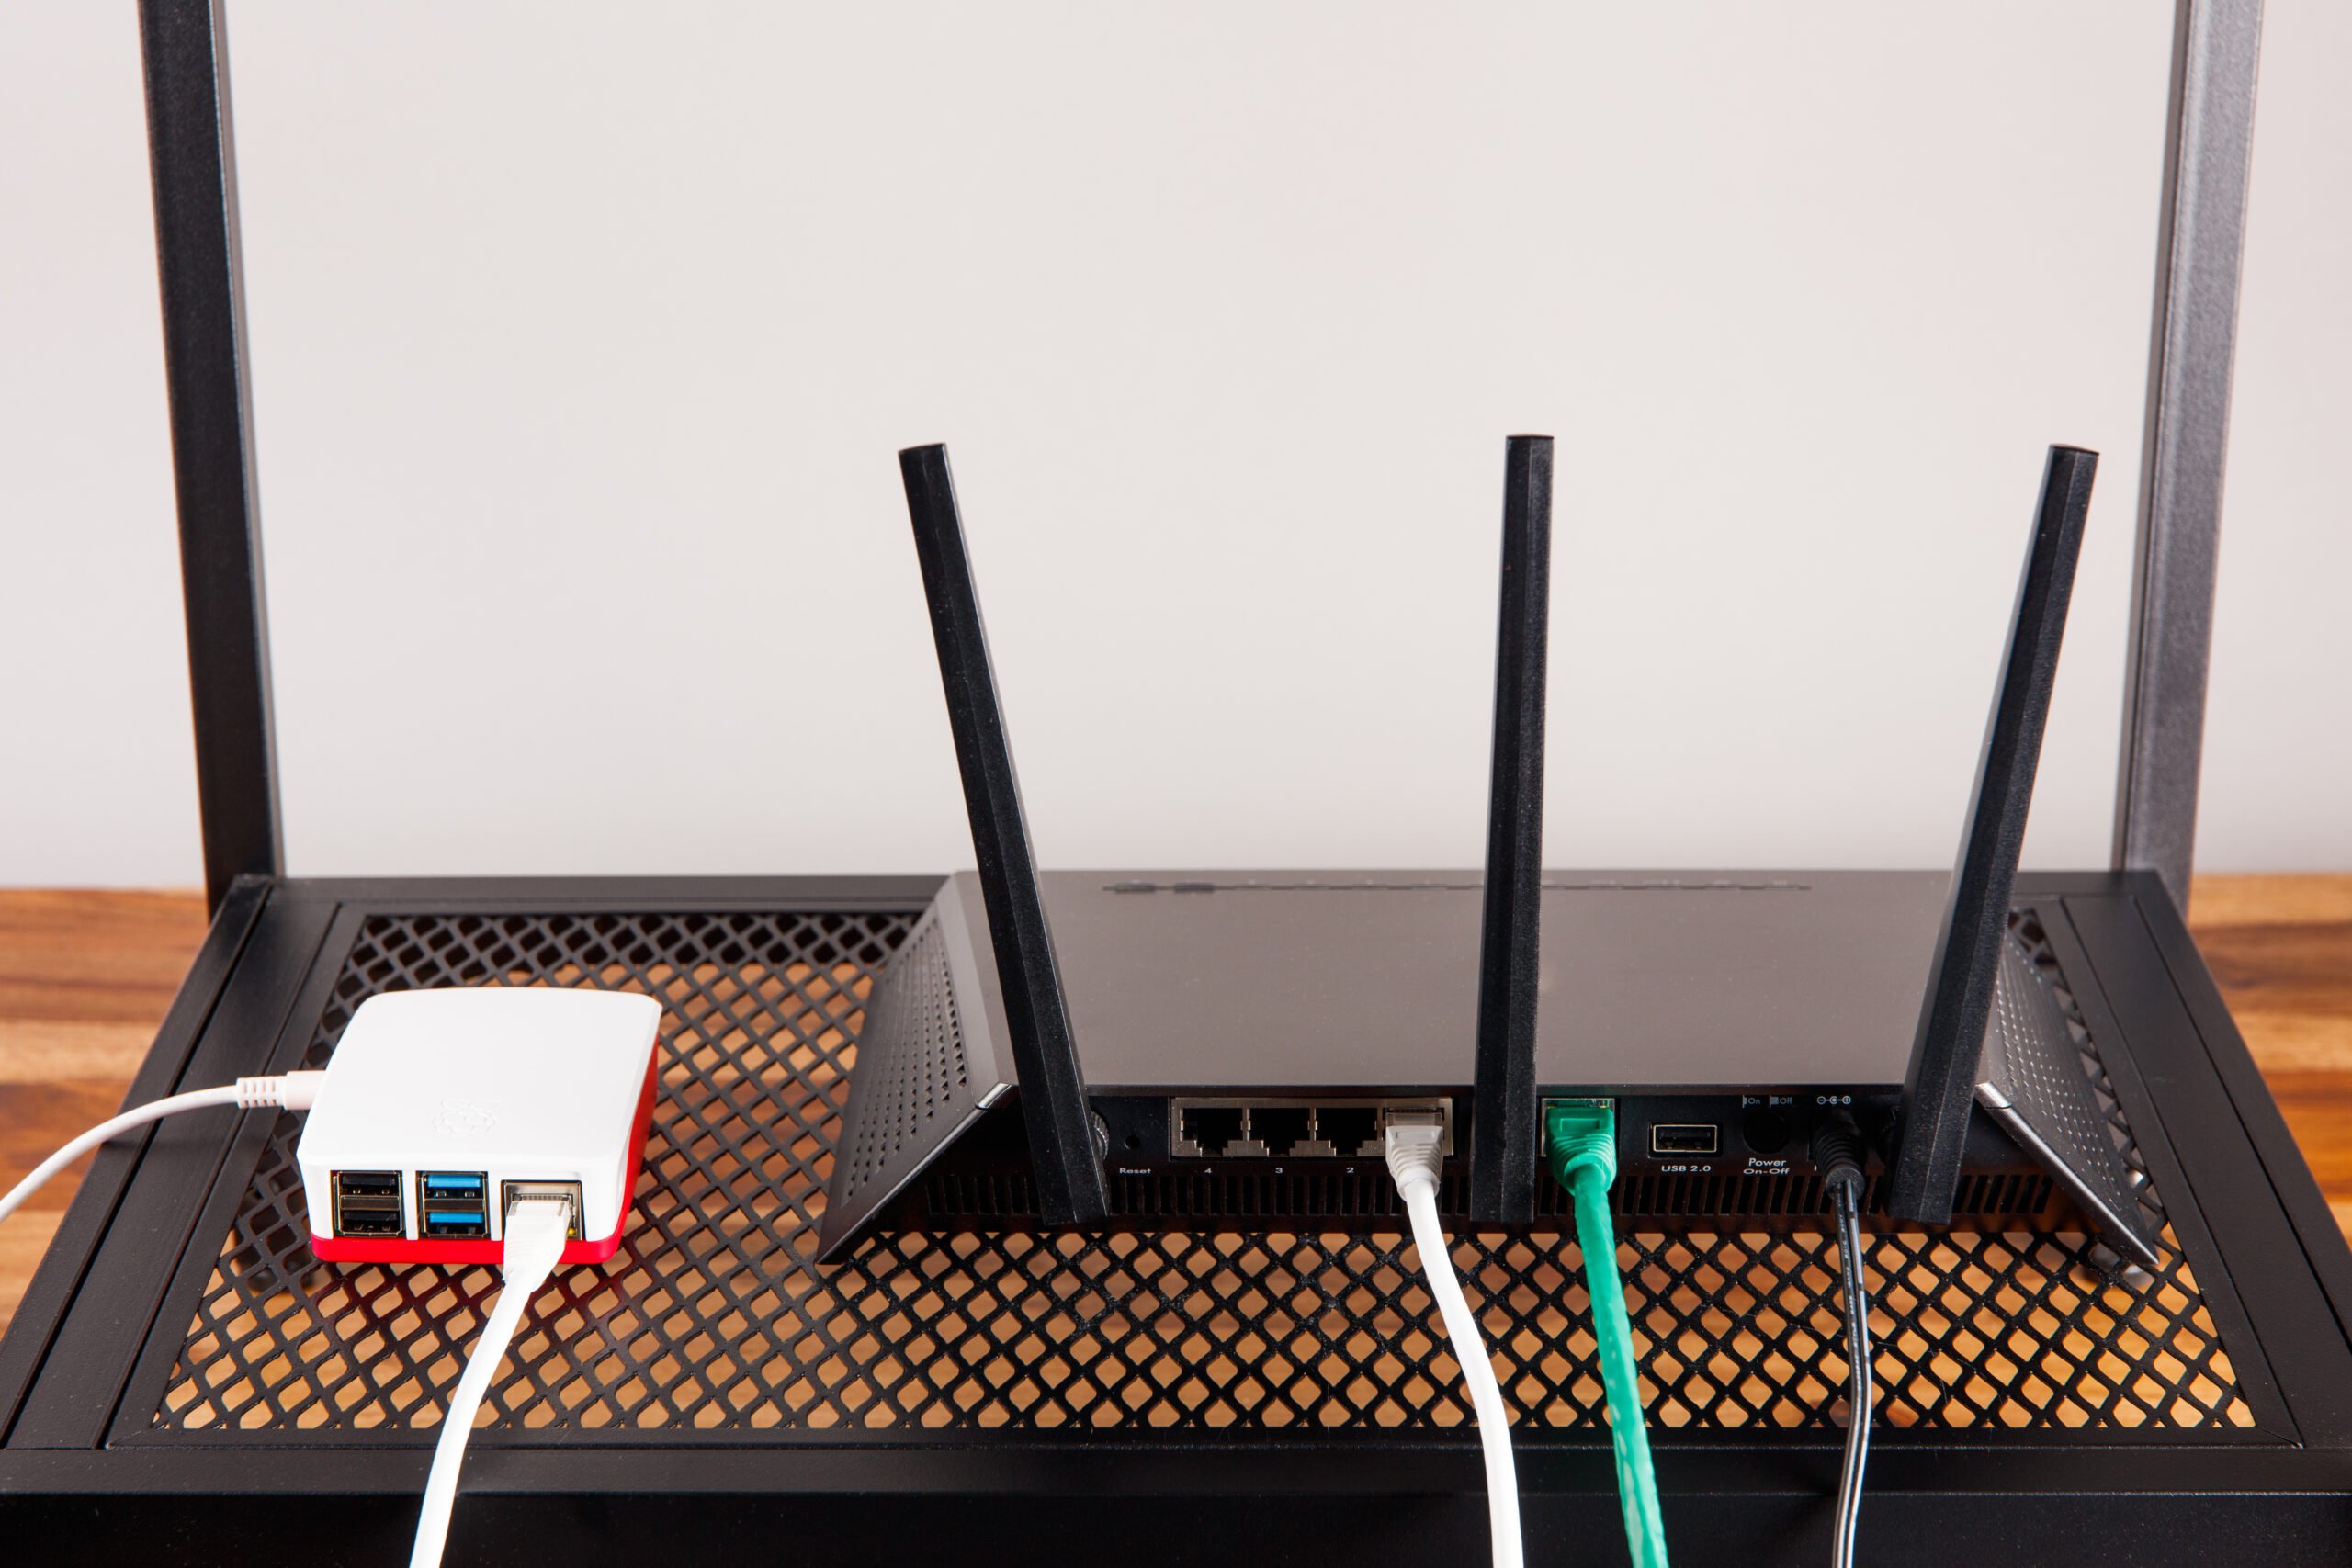
Setting Up Raspberry Pi Behind a Router
One of the most common challenges in remote IoT projects is configuring Raspberry Pi to work behind a router. Routers often block external access to devices connected to the local network for security reasons. However, with the right settings, you can ensure that your Raspberry Pi is accessible from anywhere.
Steps to Configure Raspberry Pi Behind a Router
- Assign a Static IP Address: Begin by assigning a static IP address to your Raspberry Pi to ensure it always has the same network address.
- Enable Port Forwarding: Configure your router to forward specific ports to the Raspberry Pi, allowing external devices to connect.
- Set Up Dynamic DNS (DDNS): Use a DDNS service to map your router's dynamic IP address to a static domain name, ensuring consistent access.
By following these steps, you can create a secure and reliable connection for your remote IoT setup.
Securing Your Remote IoT System
Security is a critical consideration when setting up a remote IoT system. Exposing your Raspberry Pi to the internet without proper safeguards can leave it vulnerable to attacks. Here are some best practices to secure your remote IoT system:
- Use Strong Passwords: Ensure that all accounts and services have strong, unique passwords.
- Enable Firewall Protection: Configure a firewall to block unauthorized access and protect your system from potential threats.
- Keep Software Updated: Regularly update your operating system and applications to patch security vulnerabilities.
Implementing these security measures will help protect your remote IoT system and ensure its longevity.
Free Tools for Remote Access
There are several free tools available that can facilitate remote access to your Raspberry Pi. These tools are easy to use and offer robust features for managing your IoT projects. Some popular options include:
- SSH (Secure Shell): A secure protocol for accessing and managing remote devices.
- VNC (Virtual Network Computing): A graphical desktop sharing system that allows you to control your Raspberry Pi remotely.
- ngrok: A tunneling tool that provides secure access to local servers over the internet.
These tools, combined with proper configuration, can enhance the functionality and accessibility of your remote IoT setup.
Troubleshooting Common Issues
Even with careful planning and setup, issues can arise when working with remote IoT systems. Here are some common problems and their solutions:
Connection Issues
- Problem: Unable to connect to Raspberry Pi from a remote location.
- Solution: Verify that port forwarding is correctly configured and check your DDNS settings.
Security Concerns
- Problem: Suspected unauthorized access to your system.
- Solution: Review firewall logs and update passwords immediately if any suspicious activity is detected.
Addressing these issues promptly will help maintain the stability and security of your remote IoT system.
Advanced Techniques for Remote IoT
Once you've mastered the basics of remote IoT with Raspberry Pi, you can explore advanced techniques to further enhance your setup. These techniques include:
- Automated Scripting: Use scripts to automate repetitive tasks and improve efficiency.
- Data Logging and Analysis: Implement data logging to monitor and analyze system performance over time.
- Integration with Cloud Services: Connect your Raspberry Pi to cloud platforms for enhanced functionality and scalability.
By incorporating these advanced techniques, you can unlock the full potential of your remote IoT system.
Real-World Applications
Remote IoT with Raspberry Pi has numerous real-world applications across various industries. Some examples include:
- Home Automation: Control lighting, temperature, and security systems from anywhere.
- Agriculture: Monitor soil moisture, weather conditions, and crop health remotely.
- Healthcare: Enable remote patient monitoring and telemedicine solutions.
These applications demonstrate the versatility and impact of remote IoT technology in solving real-world problems.
Conclusion and Next Steps
In conclusion, unlocking the best remote IoT capabilities behind a router with Raspberry Pi is an achievable goal with the right knowledge and tools. By following the steps outlined in this guide, you can create a secure, stable, and functional remote IoT system for free. Remember to prioritize security and continuously update your setup to adapt to evolving technologies.
We encourage you to share your experiences, ask questions, or provide feedback in the comments section below. Additionally, explore other articles on our site for more insights into IoT and Raspberry Pi projects. Together, let's continue to innovate and push the boundaries of what's possible with remote IoT!
Article Recommendations